Sliding Patio Doors vs Bi-fold Doors -Which Ones To Choose?

Blurring the line between outdoor and indoor living space  has become a popular trend in home design.

This would explain the rising popularity of sliding and bi-fold doors. Both sliding and bi-fold doors are perfect options when trying to create a seamless transition between garden and home, whilst letting in maximum natural light. 

But, which is best? Sliding or bi-fold? 

In this article, we compare these two types of doors to help you decide which is best for your home improvement project. 

Sliding or Bi-fold – What’s the difference? 

Whilst both sliding and bi-fold doors are designed to open up living space, there are some key differences between these two types. 

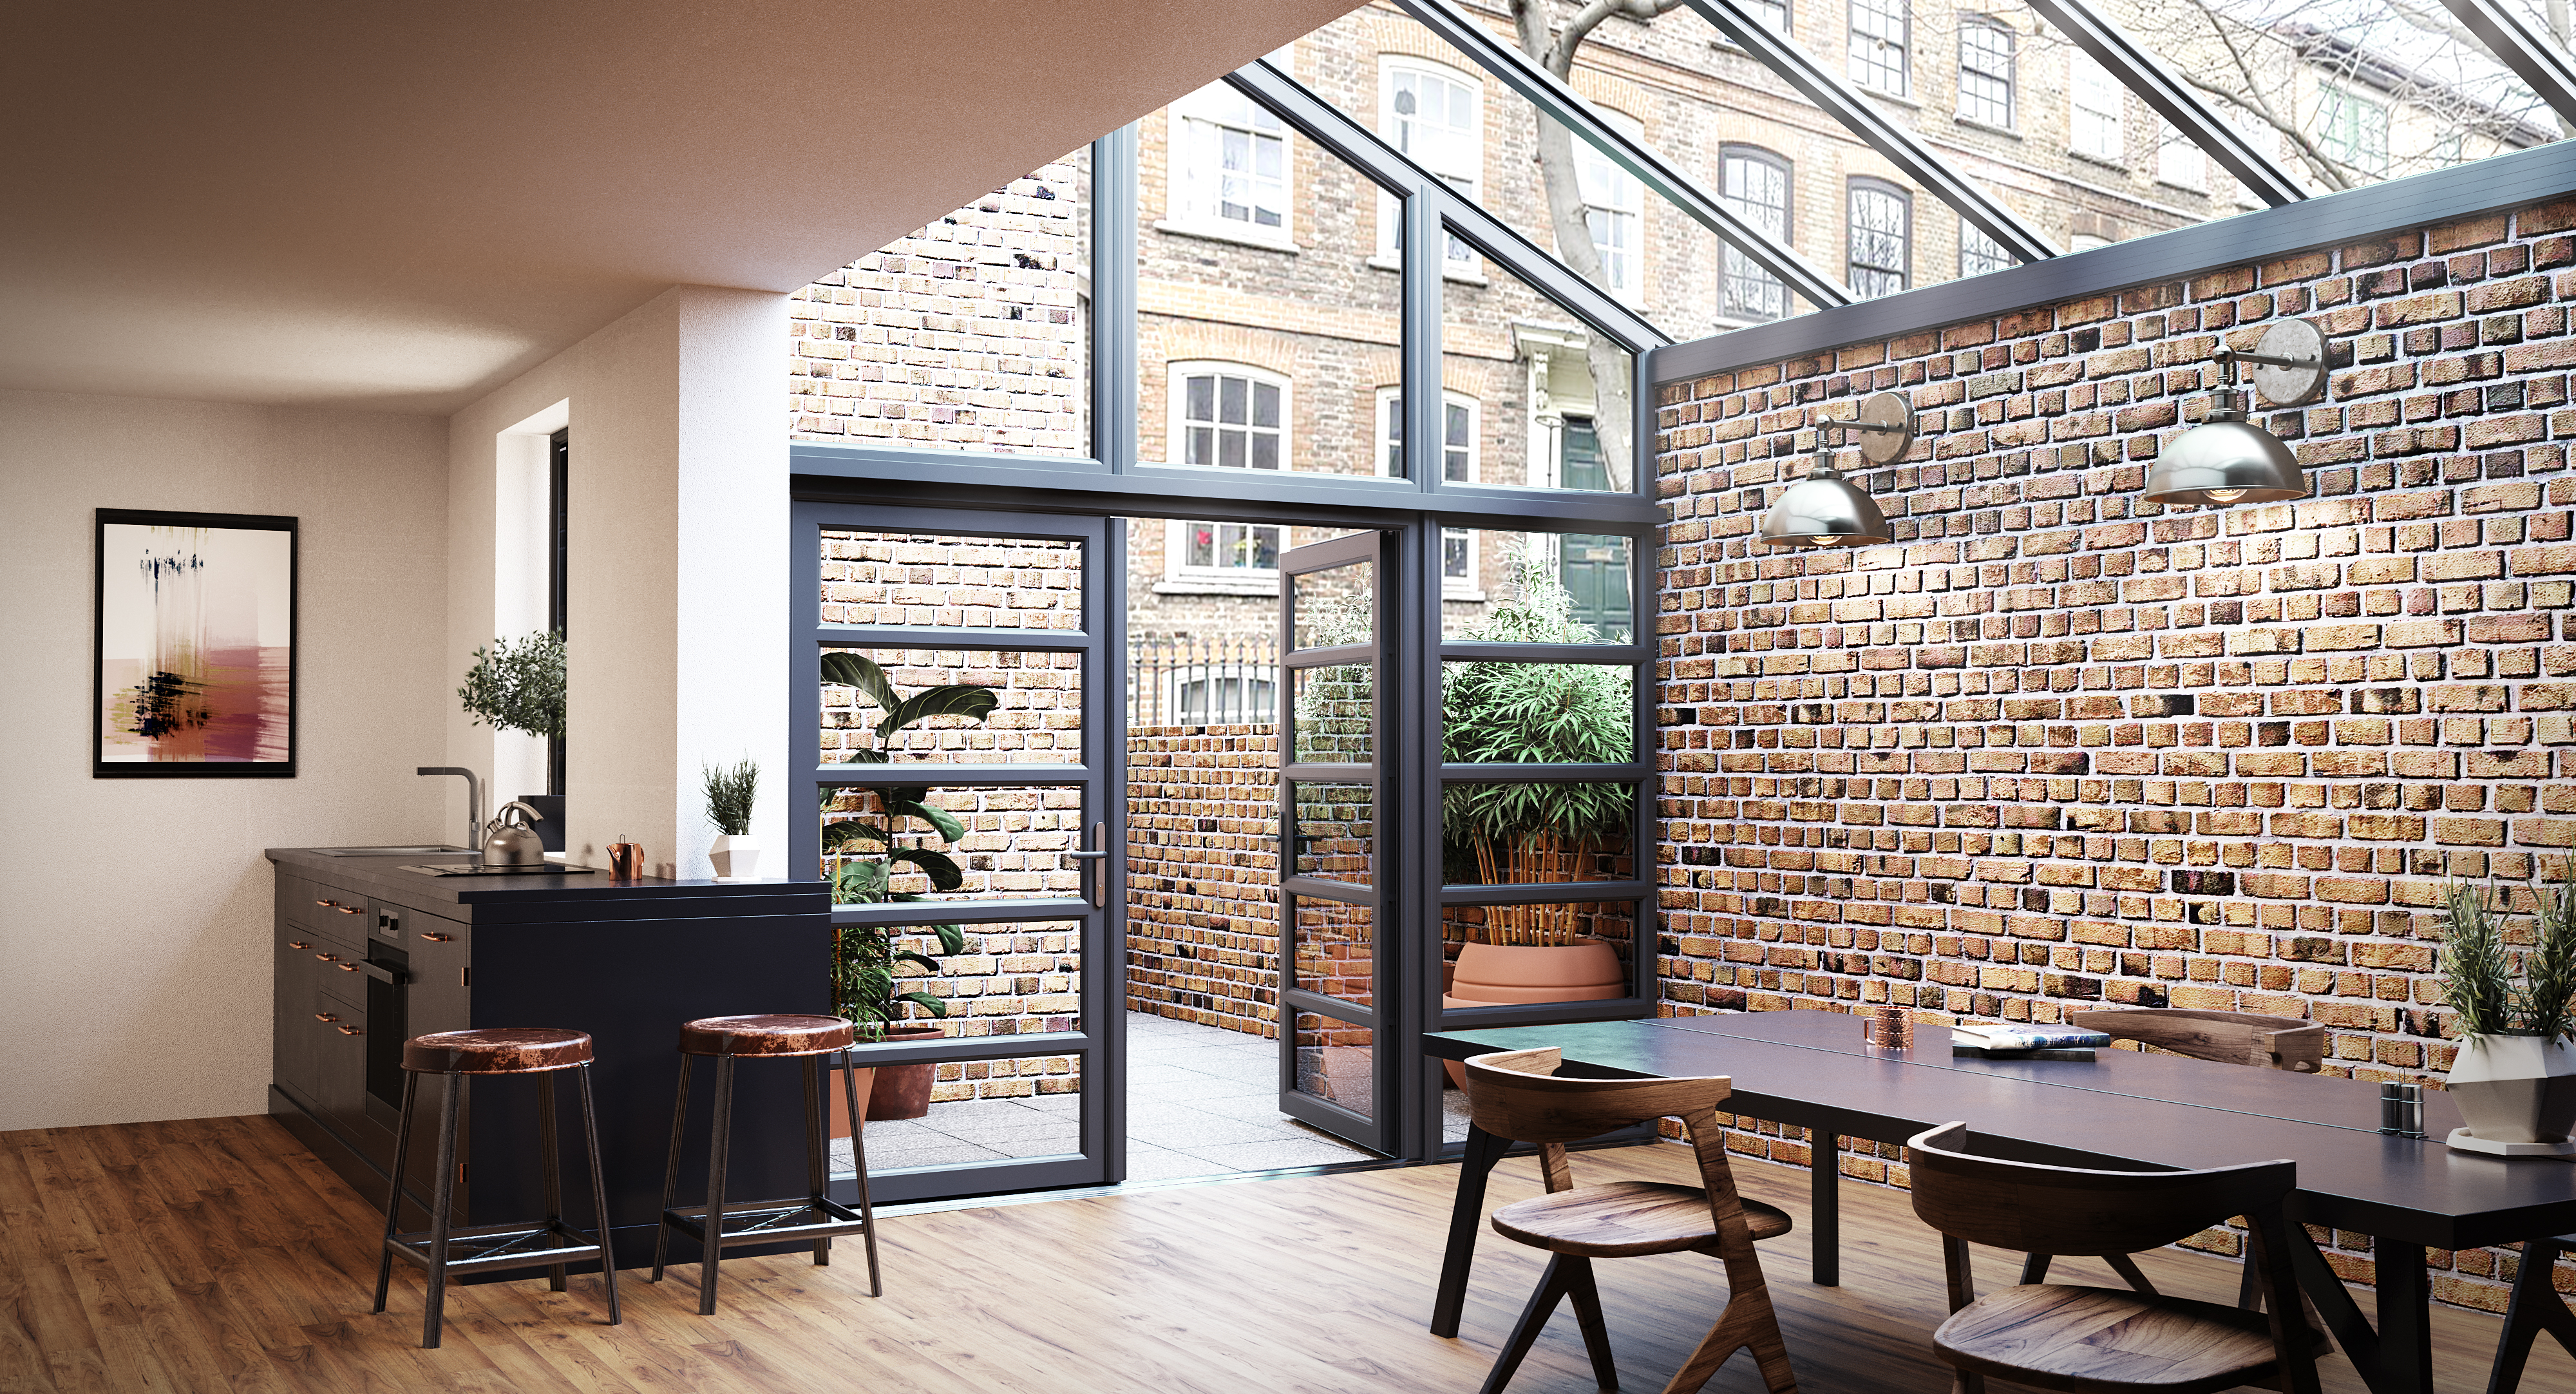
Bi-fold doors, well, fold. Bi-fold doors typically are made up of between two and seven panels that are joined together by hinges and fold away against each other along a concealed track on the floor or ceiling – or both. 

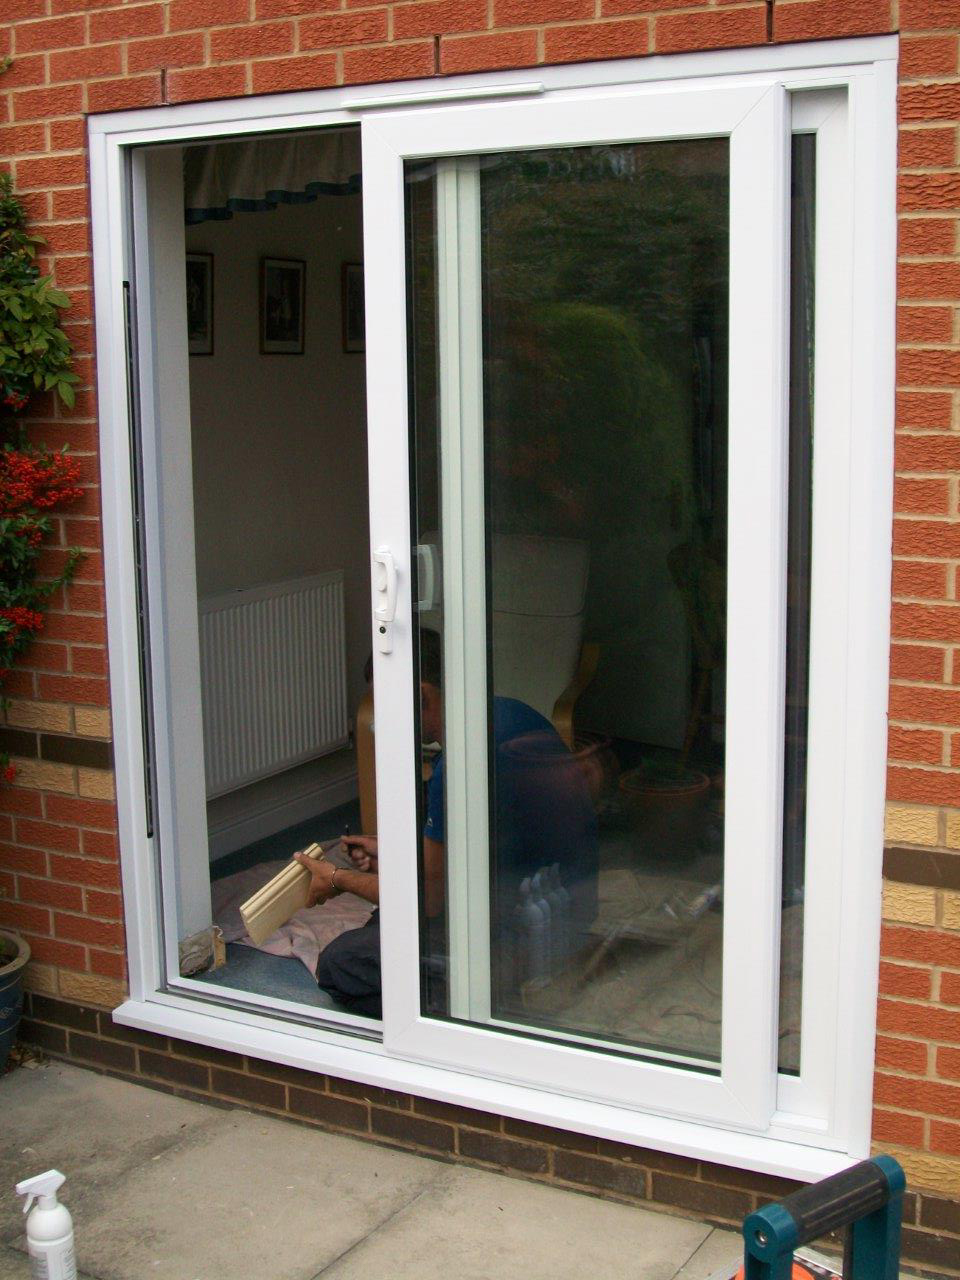
On the other hand, sliding doors differ from bi-fold doors as they open by sliding sideways to an end of a frame and are generally made of two or more large panes of glass that are stacked when open. 

The key difference between these two types of doors is that sliding doors don’t project outwards and don’t require the same space as bi-fold doors. 

Fully open living

One of the biggest draws of both sliding and bi-fold doors is their ability  to completely open up a living space. However, when it comes to creating a fully open living space, the bi-fold door has the edge over its sliding counterpart. Why is this? Well, unlike sliding doors, you are able to completely fold away a bi-fold door, entirely opening up one wall. Whereas sliding doors slide open left or right about 65%. 

So, if you’re looking to create a living space that maximises the outdoor space, a bi-fold door may be the better choice. 

Flexibility

Flexibility is one thing that the modern homeowner requires so when flexibility is what you’re after then sliding doors offer you just that. Depending on how much ventilation you want, sliding doors offer you that control. 

However, if you choose a bi-fold system then a ‘traffic door’ is an option that should be considered for greater flexibility – especially when this is the only way out to the garden. A traffic door opens and shuts in the same way as a regular door but it provides access outside without having to fold away the whole set of panels. 

Let there be light

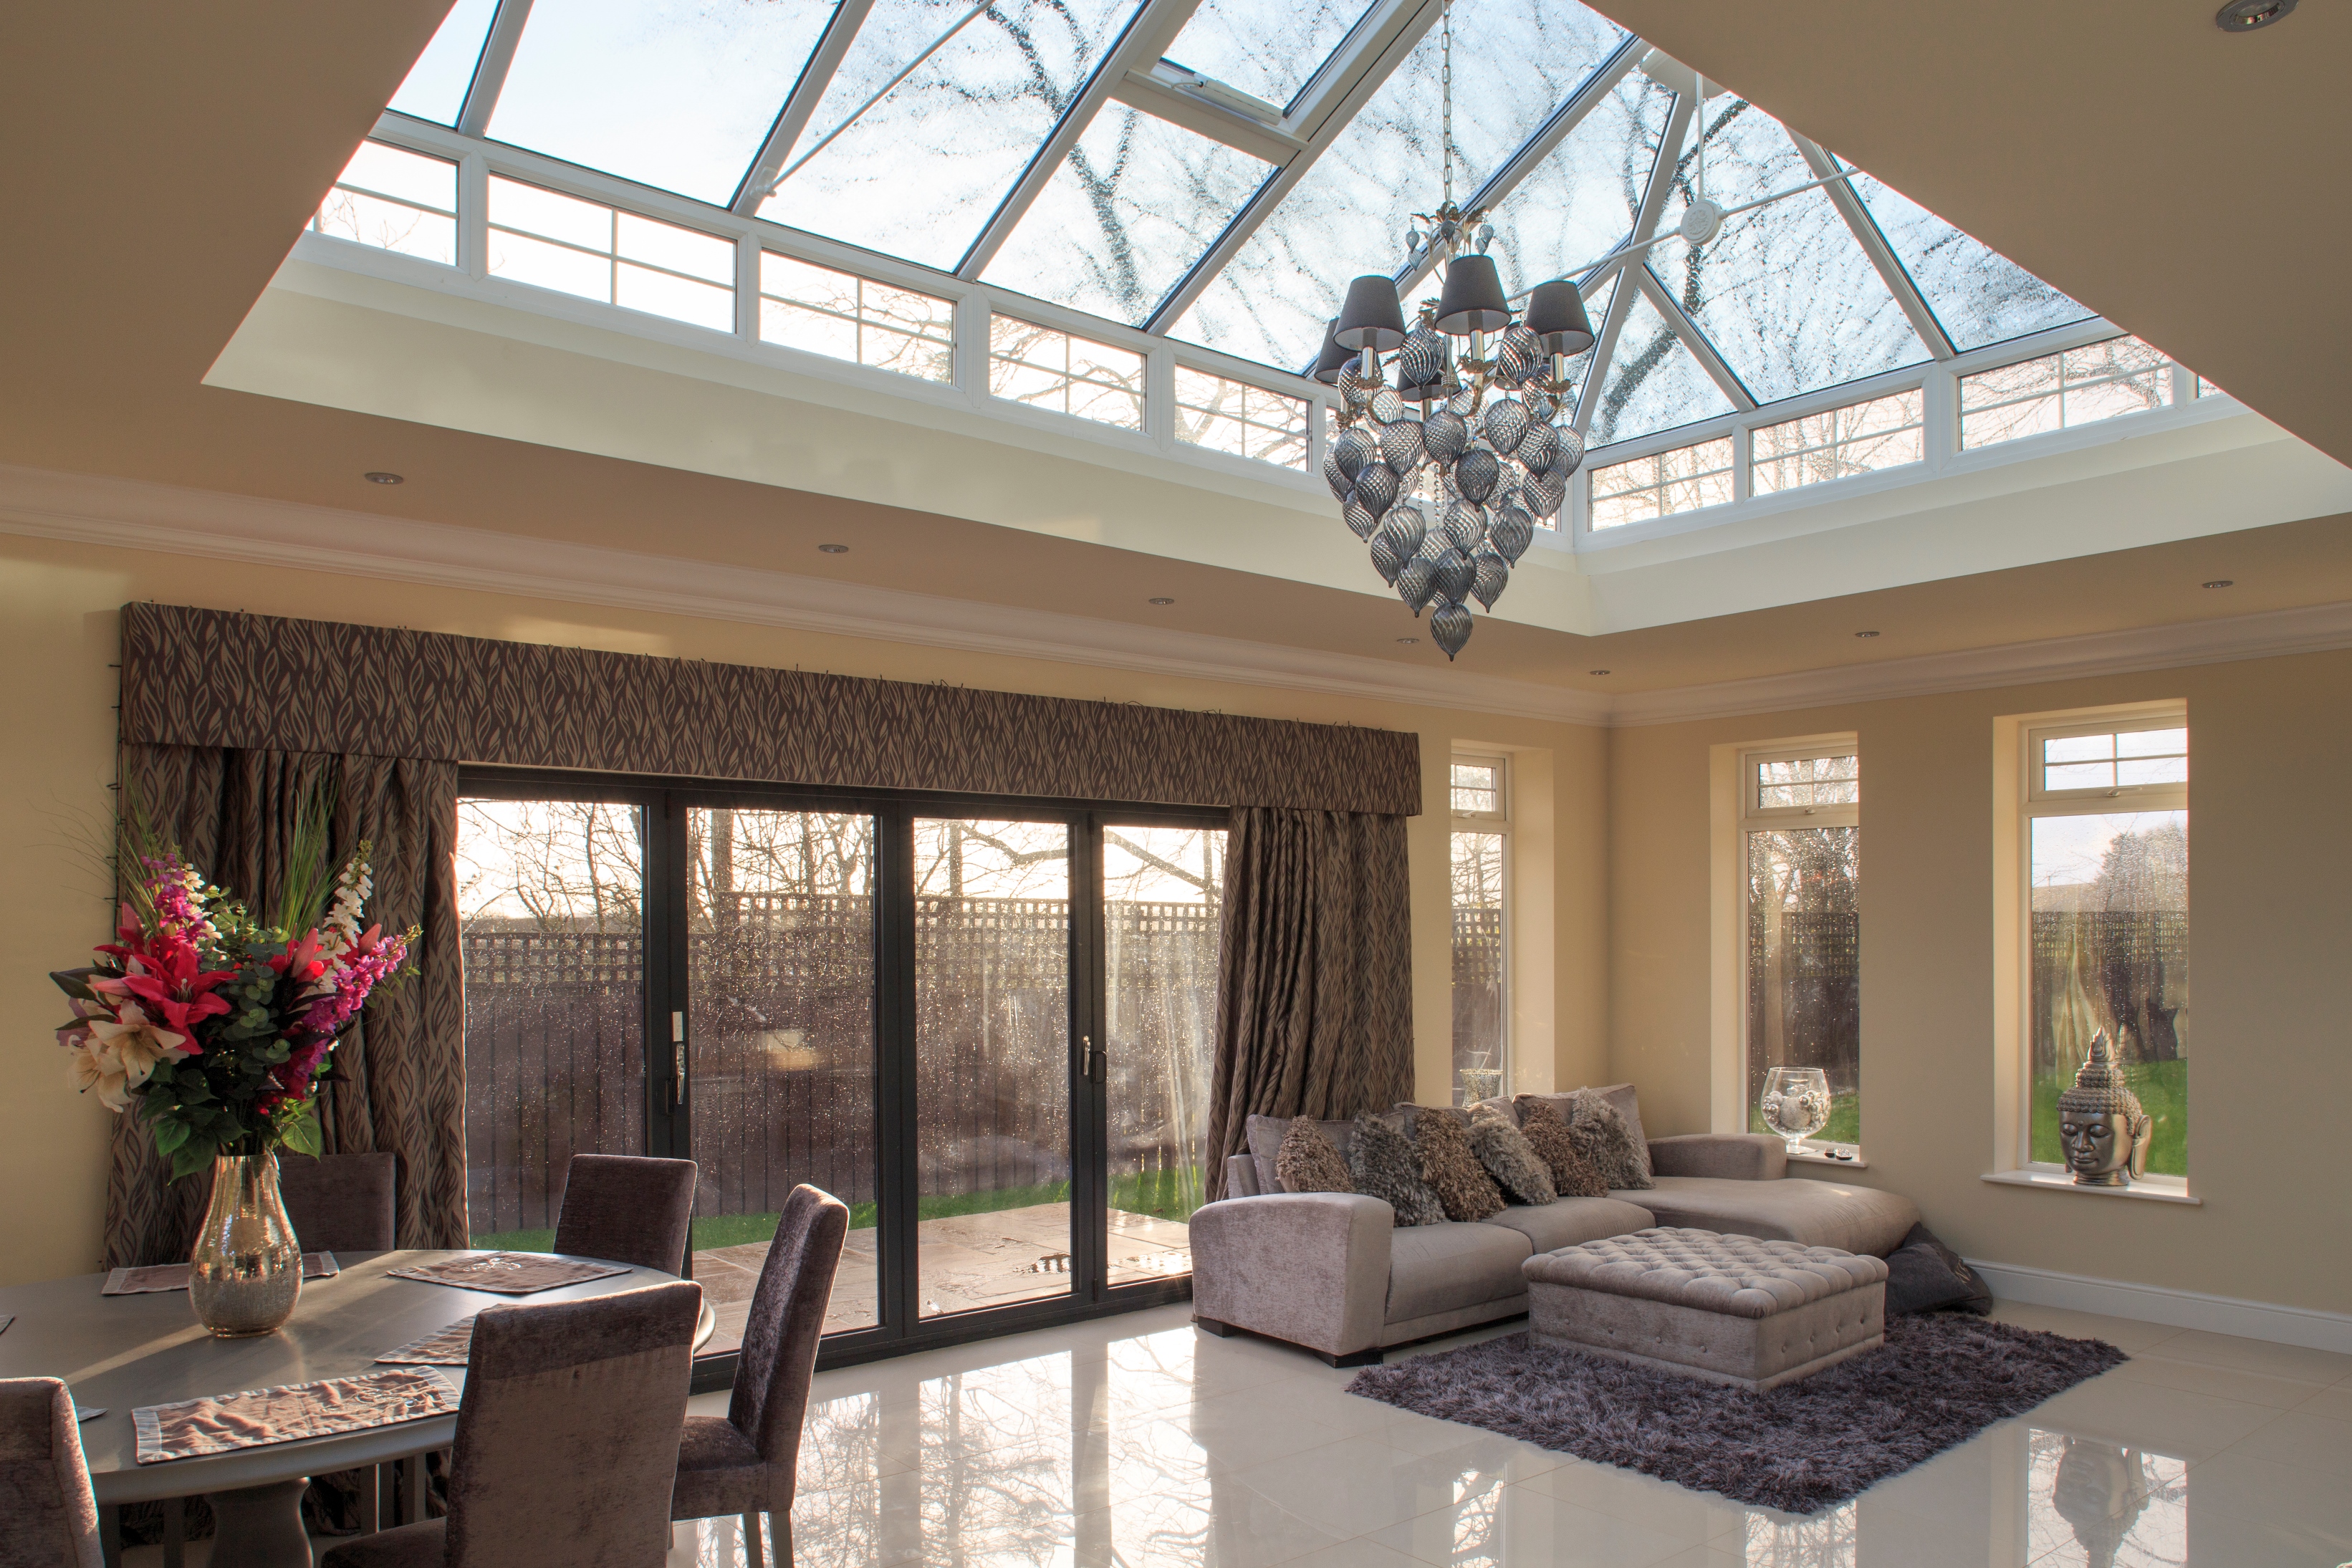
By drawing in natural light, you’re able to create an airier living environment whilst creating the illusion of extra space. So, when trying to maximize the light that comes into a house, a sliding door is an ideal choice as the larger glass panels mean that unobstructed light can flood the room. Despite when fully open bi-fold doors are able to fully open space, when there are closers there are more vertical frames that not obstruct the view but prevents more light coming through. 

In essence, sliding doors have a greater glass to frame ratio and, therefore, is a better all-round choice when it comes to maximising natural light. 

Cost

In terms of cost, there is not much difference between these two types of doors. That being said, this depends on the width of the door unit. If you increase the width of a sliding door, for example, by a few panes then this will become increasingly more expensive as large single units of glass can be costly. 

Which is best? 

In short, there is no real clear-cut winner. Which one you should choose really depends on what you’re aiming to achieve. If you’re looking for a fully openable option then a bi-fold door is the right choice. Whereas, if maximum natural light all-year-round is a priority then you may choose to install a sliding door.

Regardless of which you choose, for both doors, it is important to choose a supplier you can trust. 

At MLI Building Products, we are completely quality-driven. That is why we go the extra mile in ensuring that all of our products are of the highest quality – so you receive a product that is exactly what you were looking for. 

Looking for the finest bi-fold or sliding patio doors in West Sussex? Get in touch with a member of our friendly team who will be happy to assist you, or even book an appointment to discuss what we can achieve for your project.  

The Benefits Of Installing uPVC Cladding

Cladding plays an important role in adding an extra protective layer to your home’s walls, by preventing moisture from accessing the fabric of your home. 

Therefore, it is vital that you choose a material for your cladding that best protects your home from costly damage. 

Ideal for its durability and hard-wearing properties, uPVC is a popular and commonly used material in construction. This includes cladding. 

In this article, we take a closer look at the benefits of uPVC cladding and why you should install it to your home. 

uPVC Cladding Benefits

  1. Low Maintenance

Whilst cladding’s role is to protect your home’s wall, this also means that your cladding is left exposed. 

Unlike timber, which is susceptible to rot, uPVC cladding is practically maintenance-free after the installation as no further upkeep is needed to keep it in optimum condition. The occasional wipe down is all that is needed to keep it clean. 

  1.  Attractive appearance 

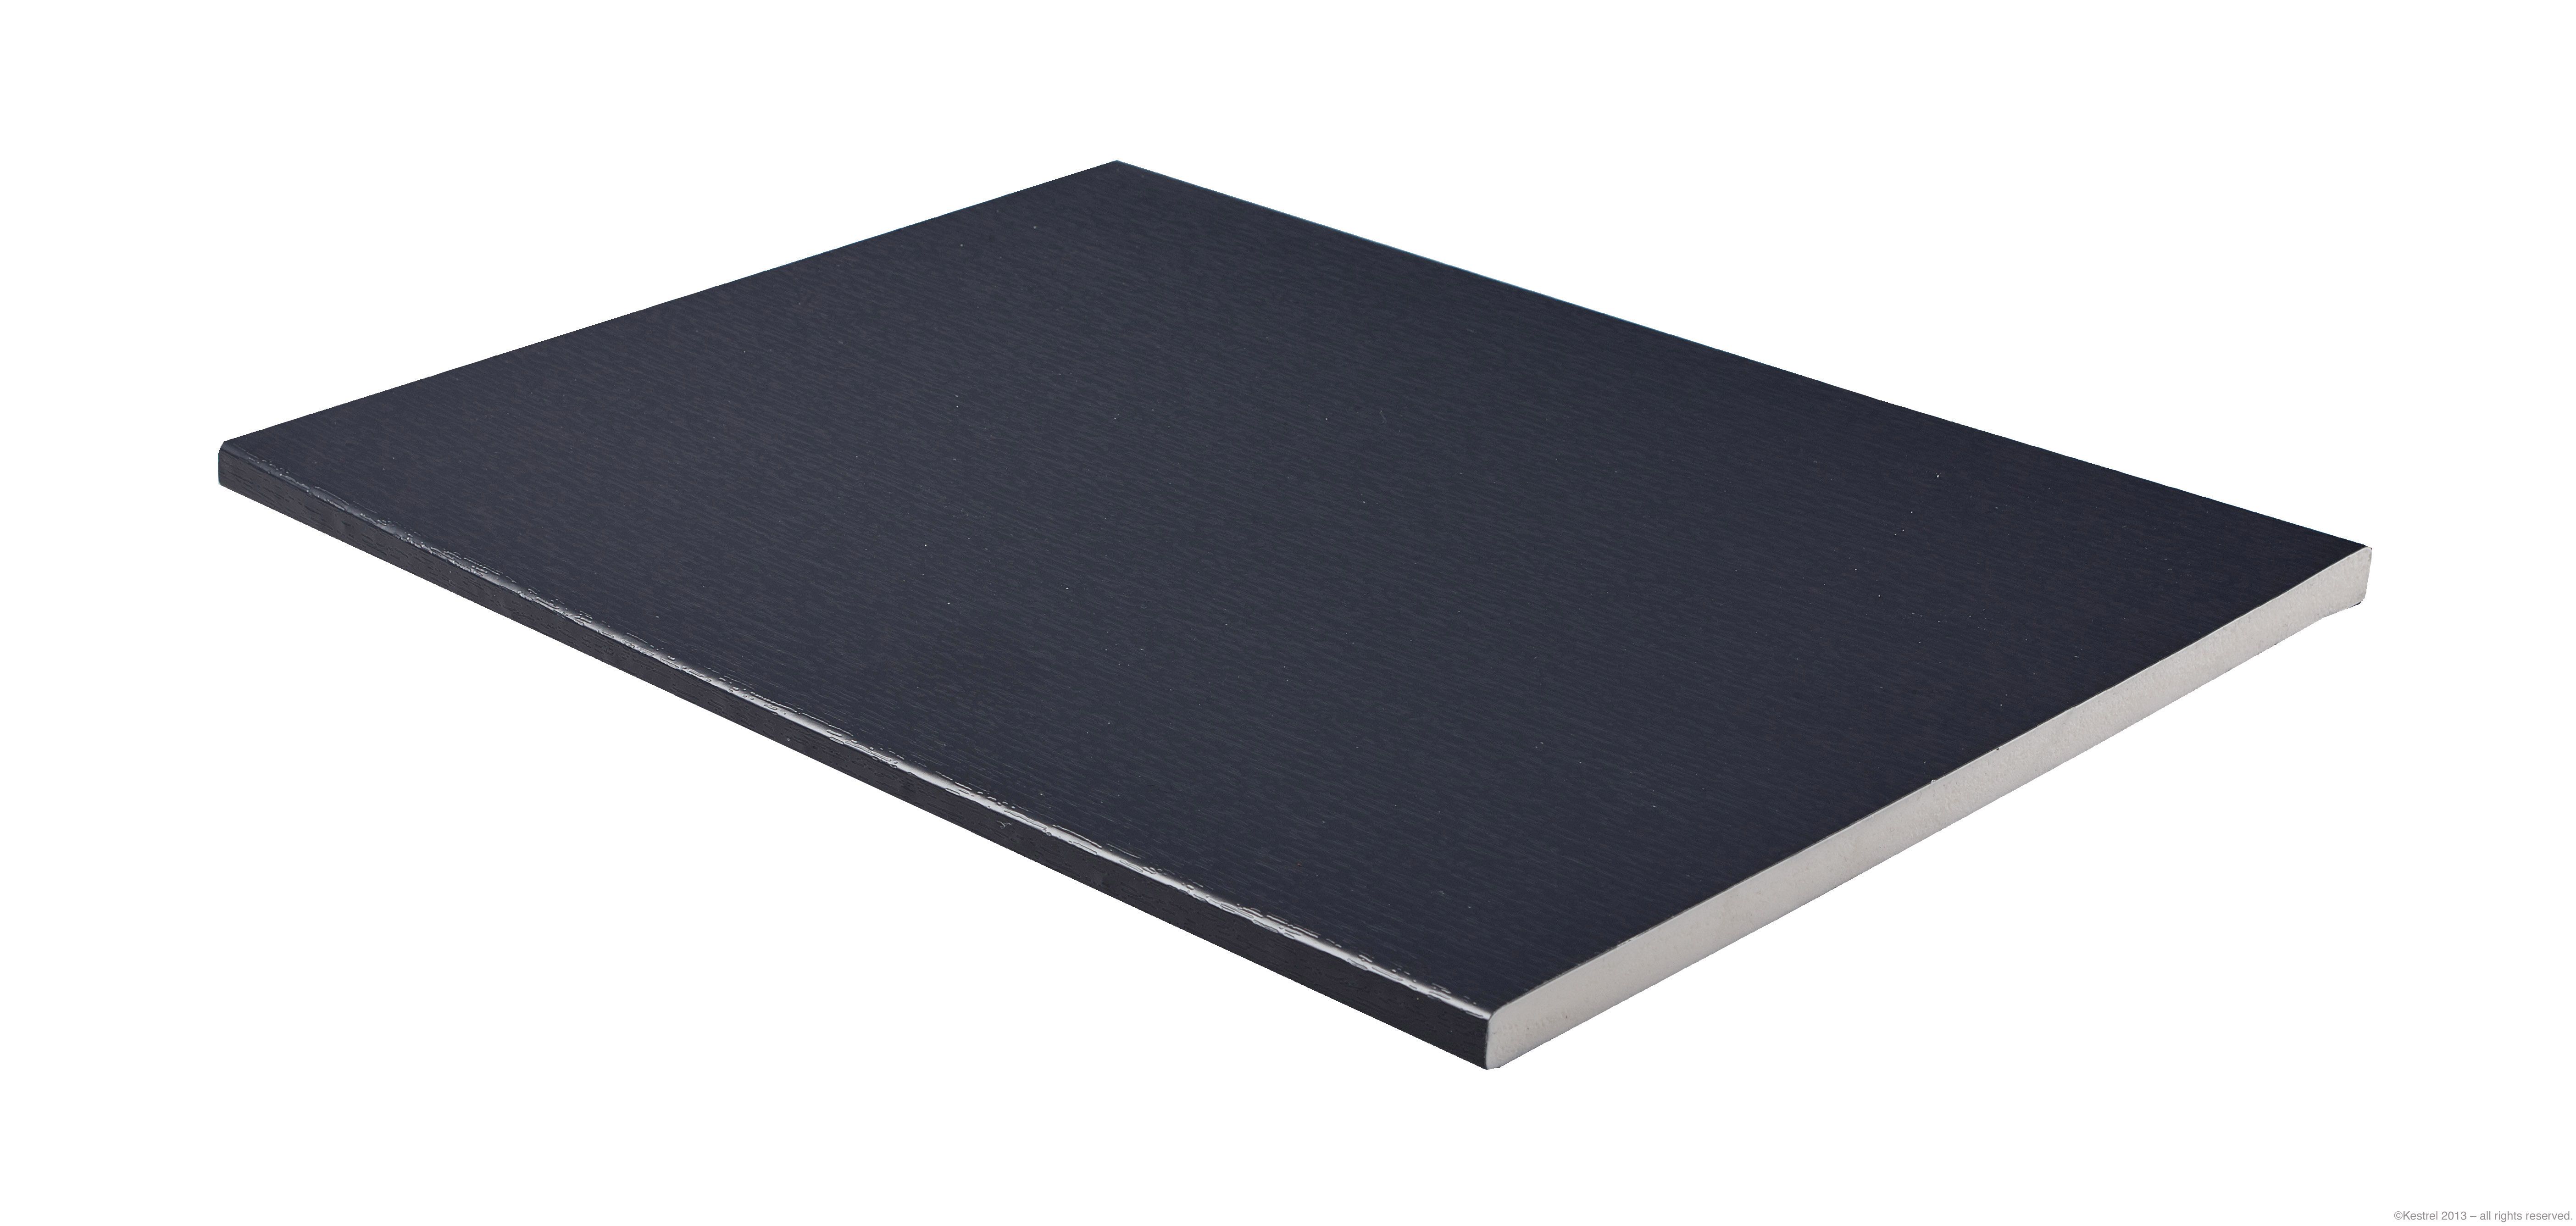
uPVC cladding not only offers  the protection of your home but greatly improves the visual appearance. With a minimalist and clean look, uPVC cladding adds  a contemporary look to your property. 

The glossy finish of uPVC cladding is designed to last so it can keep its visual appeal for years to come after installation. 

  1. Value for money 

Thanks to its  low maintenance and attractive appearance, uPVC cladding is a great investment as it won’t need any maintenance or replacing for years – saving you money in the long run. 

  1. Weather-proofing 

Britain is known for its unpredictable  weather, therefore, your cladding has to be prepared come rain or shine. 

uPVC is extremely weather-resistant so no matter what the British weather throws at it, it will stand strong. 

Find a uPVC cladding installer 

As you can see, installing uPVC cladding on your home isn’t without its benefits.

Despite this, in order for your cladding to protect your home effectively, it is important to choose a trusted supplier. 

That’s where MLI Building Products comes in. 

What makes us different? Well,  we are dedicated to providing each of our customers with the first-rate products and services, so that you can rest assured that our products won’t let you down. 

If you’re looking to install high-quality uPVC cladding to your home, look no further. Get in in touch with a member of our team who will be happy to assist you. Or even book an appointment today to discuss your options. 

How To Fit External Cladding? A Step By Step Guide

There are many reasons why you may want to fit cladding to the exterior of your home. External cladding can help protect the structure of your property from cracks and can also dramatically transform the overall look of your home. 

The choice of cladding materials seems endless, from timber to stone and uPVC to brick. 

Whilst the techniques you use to fit the external cladding may vary depending on the material you choose, the preparation and the installation process is generally the same. 

So, how do you exactly fit external cladding to your home? 

Here we have outlined a step by step guide so you can do it easily by yourself.

What You’ll Need:

  • Tape measure 
  • Plywood sheathing 
  • Galvanised screws or nails
  • Choice of external cladding 
  • Drill 
  • Skill saw 
  • Foam insulation 
  • Trims and corner pieces 
  • House wrap 

Step 1 – Measuring of Exterior Walls 

Before fitting any cladding to your walls, you will need to measure the length and width of your exterior, in order to get the right amount of material for your walls. 

You will also need to take extra measurements of the space around the windows and doors, for any trims and corner pieces. 

Step 2 – Fit All The Sheafing 

Make sure all the plywood sheafing is fitted before you install any cladding to the outside of your home.

Step 3 – House wrap and Foam insulation 

One stage that is often forgotten about, but is crucial for ultimate energy efficiency and weather protection, is installing house wrap and foam insulation. Wrap the outside your home with your choice of house wrap and staple in place. Then, nail the foam insulation panels in place. 

Step 4 – The First Row of Cladding 

You can now begin fitting the first row of cladding. Starting from the bottom of the wall, it is important to take your time at this stage as it is a foundation for the rest of your cladding. Ensure that the first row is level in order to make sure the successive rows of cladding are straight. 

Step 5 – Install The Next Rows 

Now that you have installed the first row of cladding, you are able to fit the next rows. If you’re using cement boards, wood siding, vinyl siding or metal siding you must remember that each row must overlap the top of the bottom board. This is to prevent water from running down the back of the cladding. In most cases, the materials will have a declination line to help guide you. 

Step 6 –  Add The Trims and Corner Pieces 

Once you have complete a wall, you can now add the trims, corner pieces and finishing touches. The majority of wall cladding have finishing pieces to add to the appearance and protection to your wall. Fit the trims, corner pieces and finishing touches now that the wall has been completed. 

Step 7 – Repeat For All Walls

Repeat the process until all the exterior cladding has been fitted to the outside of the build. 

Find quality cladding 

Now you know how exactly to fit exterior cladding to your home, it is important that you choose quality products to best protect your home and achieve the look you desire. 

At MLI Building Products, we pride ourselves on our quality, that’s why we go the extra mile to provide our customers with the finest products. 

Whatever your project, MLI Building Products have expertly specified products designed to deliver perfect results. 

If you’re looking to install cladding to your home in West Sussex and the surrounding areas, get in touch with a member of our expert team or book an appointment to discuss what we can achieve for you. 

Why Is Gutter Cleaning So Important?

new guttering

Your gutter plays an integral role in diverting rainwater away from your home, so it’s crucial to maintain it regularly. Most of us only focus on cleaning the interior of our homes, but taking care of the exterior is equally important.

When it comes to guttering, it’s not only about  the looks but also safety. A leaking gutter can lead to water finding its way into your roof and the  interior of your home. 

This might lead to serious damage and might result in costly repairs.

See other reasons why regular maintenance of your gutters is important below!

  1. Prevents clogged guttering

Throughout the year, leaves, twigs, and other debris can build up in your guttering, blocking water from flowing. A clogged gutter can cause rainwater to overflow and leak into your roof and even your house. Regular maintenance and cleaning can help prevent your gutter from clogging up. 

  1. Protects your roof

When your guttering starts to leak, it leaves your roof very vulnerable to being flooded by rainwater. A leaky roof can cause water to rot your roof and encourages mold to grow. A rotting roof is a serious problem and its repair  can be extremely costly.

Keeps pests away

Pests have a way of getting into hard to reach places. 

A clogged gutter can make a nice home for rats, mice and other pests, being moist and filled with leaves. A pest infestation is a nightmare and the thought of pests getting into your home is quite scary.

This can be avoided by regularly cleaning and helping you spot any pests living in your gutters. 

Saves you money

Home improvements can make a huge dent in your bank account. Finally, by maintaining and regularly cleaning your gutters, you can avoid costly repairs and replacements. Cleaning your gutters can help you catch any minor issues early before they become more serious.  All this saves you money long-term. 

Replacement guttering 

The list of reasons why you should regularly clean your gutters is almost endless. It can save you not only money, but a lot of headaches too. However, when your guttering isn’t doing its job properly, cleaning might not be enough and you may need to replace it. When doing so, it is important to choose a supplier you can trust. 

At MLI Building Products, we aim to provide all our customers with a first-class service, supplying only the highest quality products. All our gutters are designed to keep water away from your home and with an expert installation from MLI, you can be sure your roof will be protected for years to come. Get in touch, or book an appointment today!

Best Windows For Modern Style Houses

Our homes have gone through a lot of changes over the years, originating from the Tudors, to Edwardian houses, all the way to the modern-day houses. 

Today, more and more people are opting for minimalist contemporary styles. In this article, we take a look at which window styles are best for modern homes and why you should choose them. 

Best modern home windows

Casement Windows  

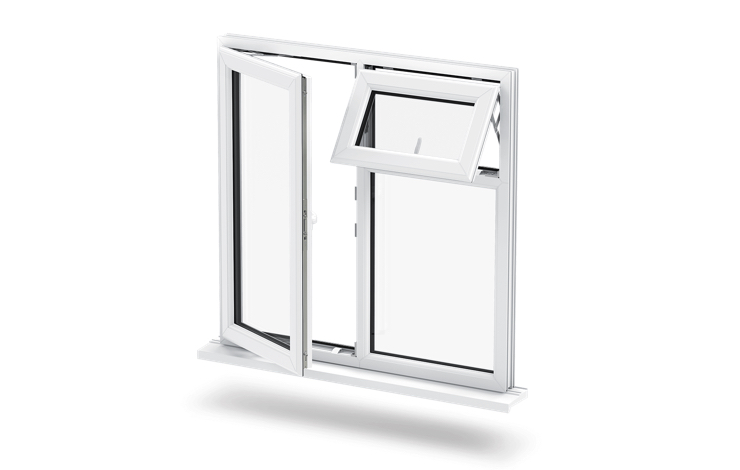
Casement windows are becoming the go-to choice of window for modern homes, promoting a simplistic yet contemporary look. 

Casement windows not only frame the outside world, but they also offer practicality by helping to insulate your home and maximise ventilation when opened. They are perfect for any modern home. 

casement window

Tilt and Turn Windows

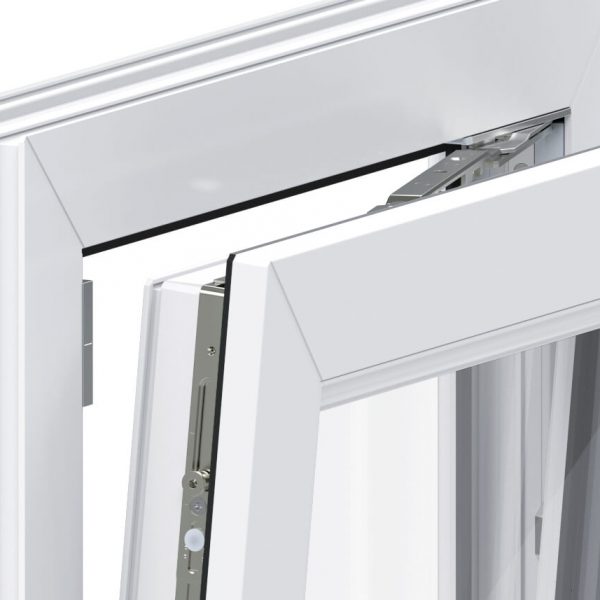
We all like to have options and tilt and turn windows offer you essentially a 3 in 1 window style option; fixed, swinging and inward tilting. They are available in a choice of materials, glazings and frames, so the options are endless. 

Not only are tilt and turn windows versatile, they are also easy to maintain. With a turn of a handle, the exterior of the  window can be easily cleaned. 

So tilt and turn windows not only look good, but they make life easier. That’s modern living. 

Tilt turn ventilation 1

French Casement Windows

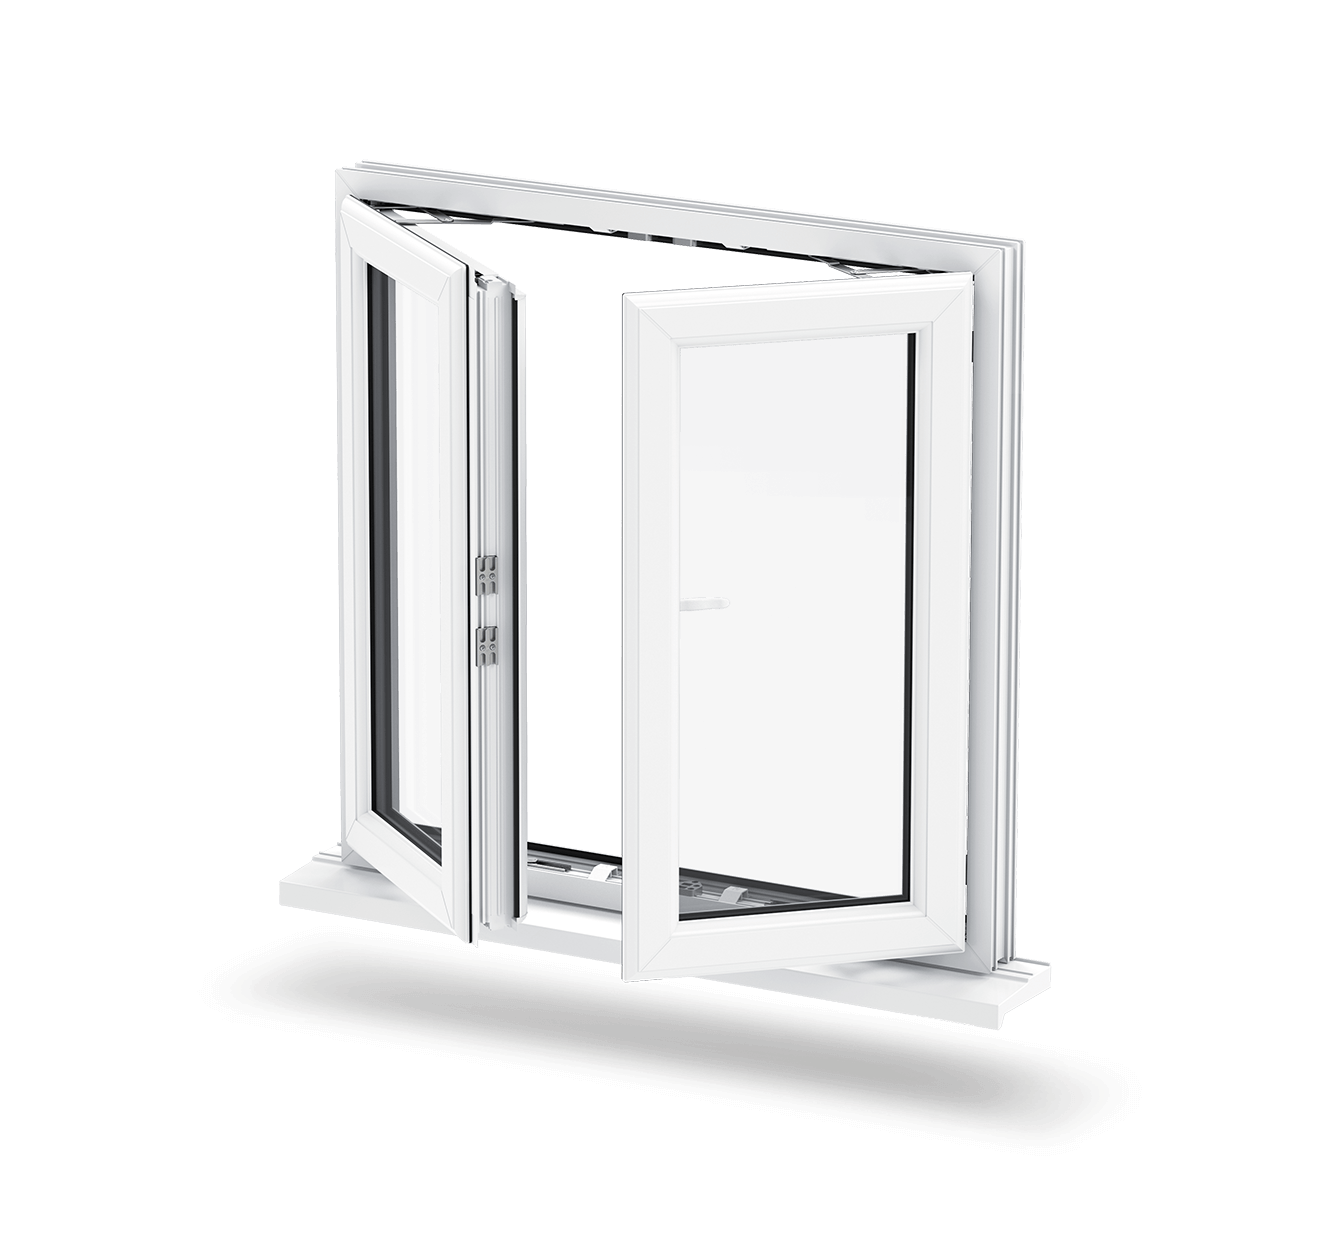
In modern houses, sometimes less is more. French casement windows live by this, featuring a minimalist design.

Being light and airy is important in contemporary homes and with no central pillar and 90 degree opening, French casement windows maximise the light and let outside air come in. 

French casement windows are a breath of fresh air to work with. 

French Casement 1

A quality window supplier

No matter what window you choose to install, it is vital you choose to use quality products from a trusted window supplier

MLI Building Products only supply products manufactured to the highest quality. 

We are focused on ensuring that our products are market-leading and feature innovative technology. 

With a range of products available, whatever the project, we have just the right products. 

If you’re looking for high quality windows built to the highest specification, view our full range or book an appointment today.

Composite Door Measuring

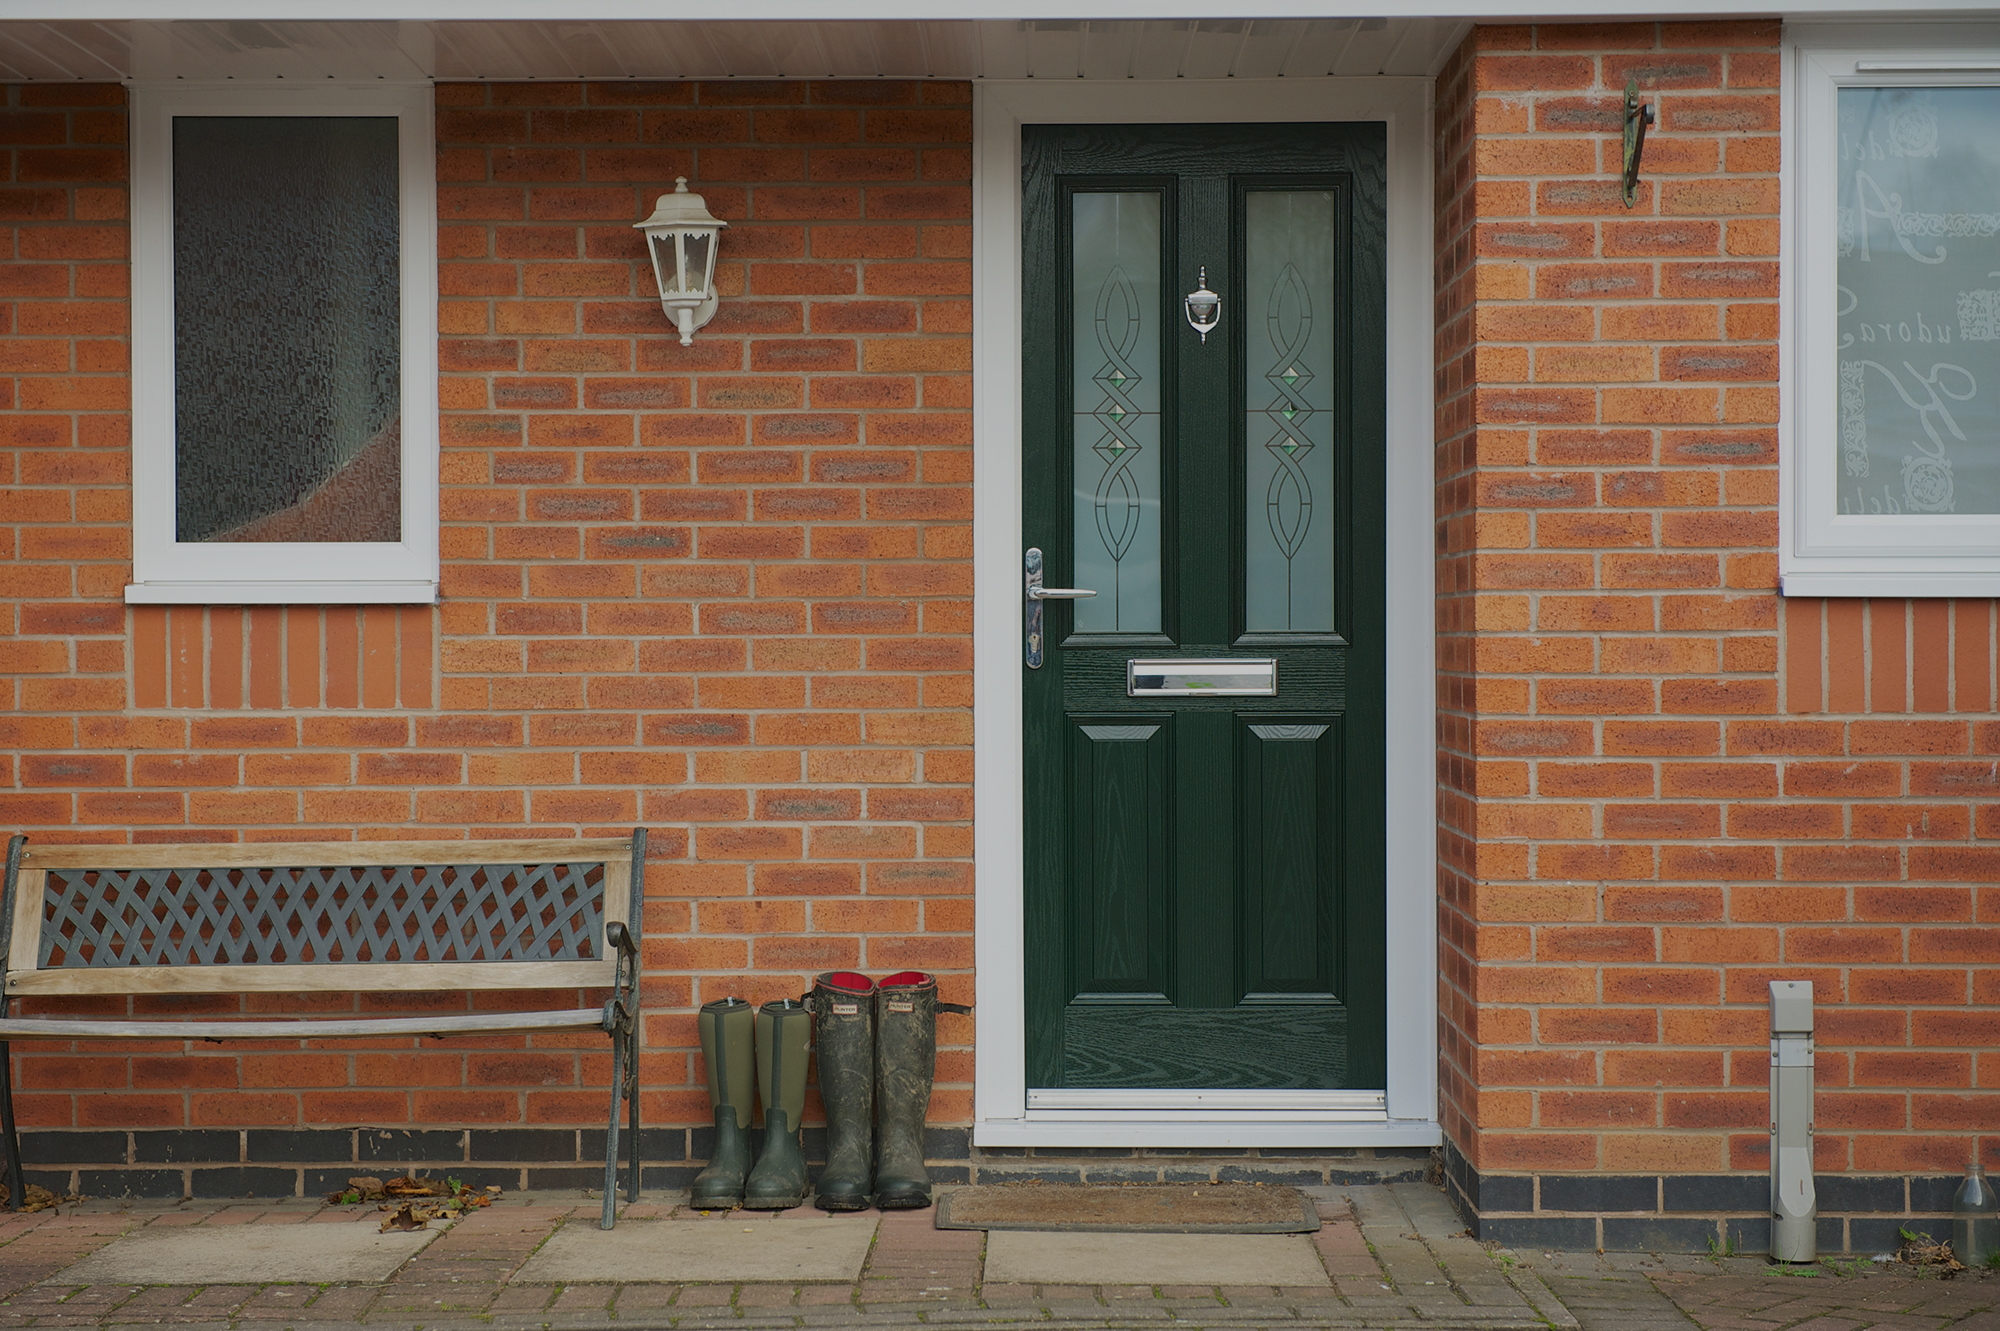
When replacing a front door with a composite door, it’s important to get the measurements right, as each composite door is manufactured to the specific measurements of the opening.

And when it comes to measuring for the door, it’s not quite as straightforward as you might think. 

There are many variables to consider, each of which could affect the door’s functionality when installed. 

Things to bear in mind

  • When measuring, always measure the opening from brick to brick
  • Always measure the opening as viewed from the outside
  • Record measurements in metric, using mm 
  • Final measurements should include the sill and any additional items such as frame extenders

How to measure for a composite door

Because the size of your opening can fluctuate slightly along the height and width, it’s important that you get three measurements of each.

When measuring the width, get one measurement from the top, one from the middle and one from the bottom of the aperture. Then make a note of the smallest of the three.

Repeat this process for the height of the door, with a measurement of the right-hand side, left-hand side and middle of the opening. 

Reducing measurement to account for expansion 

You will need to reduce your measurements slightly to account for expansion.

Depending on whether you have a white or non-white uPVC frame, this adjustment will differ slightly. Reduce your measurements as follows: 

For White uPVC frames: 

  • Up to 3m – Reduce by 10mm
  • 3m-4.5m – Reduce by 15mm
  • Over 4.5m – Reduce by 20mm

For non-white uPVC frames: 

  • Up to 3m – Reduce by 15mm 
  • 3m4.5m – Reduce by 22mm
  • Over 4.5m – Reduce by 28mm

Please note that the reduction should be made from the total width, and not taken from each side of the opening.

Once you have your measurements, you’re ready to order your composite door.

Looking for a trusted supplier of composite doors in Worthing? At MLI Building Products, we supply composite doors across Worthing and surrounding areas. Simply give us a call or drop us a message to see how we can help.

Complete Guide to Trickle Vents

In recent years, the focus in window manufacture and installation has been on energy efficiency.

This has led to windows being more airtight than ever before, thereby reducing heat loss and the carbon emissions.

However, the airtightness has presented additional concerns around ventilation which is required to maintain a healthy internal environment.

Trickle vents have been used as one solution around this.

What is a trickle vent? 

Also known as a head vent, night vent or slot vent, a trickle vent is a small vent at the top of the window unit which can be opened to allow air to slowly trickle into the home.

There are a number of options for a trickle vent: 

  • Through Frame Design: where the vent is positioned through the head of the frame
  • Over Frame Design: where the ventilation is routed above the frame of the window
  • Glazed In: where the vent is fitted into the glazing itself 

Why install trickle vents? 

Without proper ventilation, the air quality in your home will deteriorate.

Lack of air circulation will also lead to additional problems such as internal condensation.

There are a number of ways to ventilate your property.

This includes purging, in which we open a window to rapidly clear out the bad air and let fresh air enter the home; extraction, such as you might find in the bathroom; and background ventilation, where the air is gradually circulated.

Trickle vents provide background circulation. One of the key benefits to this type of ventilation is that, unlike opening a window or switching on an extractor fan, you don’t have to think about it. You just leave the vent doing its thing while you enjoy a fresh internal environment. 

Security 

Trickle vents also have the benefit of keeping your home more secure.

Leaving a window open to allow air into your home is a major security risk, even during the day while trickle vents can keep your air circulated without compromising on your home security. 

Retrofitting 

There’s no need to install a complete set of new windows as trickle vents can be installed retrospectively into uPVC window frames.

It can be a time-consuming job, but if you’re concerned about background ventilation, it could be a preferred solution to the full replacement of your windows. 

MLI Building Products are able to supply uPVC window frames complete with trickle vents, as well as trickle vent units for retrospective installation. Book an appointment to find out more.

How to Install uPVC Windows

New to installing uPVC Windows and wondering how to do it? Don’t worry.

uPVC windows are a desirable addition to any home and offer a wealth of benefits.

However, incorrect installation can lead to myriad problems, from decreased energy efficiency, to damp and the many issues associated with that complaint.

This guide on installing uPVC Windows should help you get to grips with installing uPVC windows correctly to ensure the homeowner enjoys the maximum benefits from their investment. 

Remember: Always follow manufacturer instructions. The steps below are. a guide only.

Tools Required 

As with any task, the appropriate tools should be used to ensure a satisfactory finish. Before you start installing uPVC windows, you’ll need to make sure you have the following to hand: 

  • Chisel 
  • Stanley knife 
  • Nail bar 
  • Spirit level
  • Drill and bits
  • Screwdriver 
  • Saw 
  • Frame fixings 
  • Door and frame sealant 
  • Metric tape measure
  • Light hammer 
  • Pencil 
  • Gloves 
  • Goggles

Preparation 

Before you start, make sure you’ve fully prepared as mistakes are difficult to rectify later in the process. First, check that each window opening has a lintel above as uPVC windows are not designed to be load-bearing. You’ll also want to check that the windows that have been delivered are the ones you ordered and then clear the space around each window, removing ornaments and drapes etc. before beginning. 

Remove existing window

Cover the surrounding area with sheets before beginning. 

Using a screwdriver, remove the opening part of the window. A nail bar will be required to remove sash style windows. Then crack the glass from the frame, starting at the top left corner. Be sure to wear gloves and goggles for this to avoid injury. 

Using a Stanley knife, cut through the plaster seal around the window frame then use a crosscut saw to cut through horizontal and vertical frame members. Finally, use your nail bar to pry the frame away from the plaster line. 

Fitting the new windows 

Place the windowsill onto the brickwork. The uprights should sit flush against the plaster line of the jambs. If required, cut the sill horns to fit around the brickwork. 

Using plastic packers, level the sill with 5mm clearance from the brickwork then secure the sill to the brickwork using 8x100mm fixing bolts. These should be positioned approximately 150mm from each end and then at 600mm intervals. Check the level as you go and be sure not to overtighten the fixing bolts. 

Place a bead of silicone along the back edge of the upstand and then use superglue to secure the end caps into position. If the sill horns have been trimmed, the end caps will need trimming to match. 

Next, remove the glazing beads from the frame of the window, taking care to mark them so they can easily be replaced. 

Now move the new window into place, taking care that the base is snug against the sill upstand, ensuring a tight seal against the silicone bead, wiping away any excess silicone. 

Using your level, check the window is vertically level and then wedge into place with plastic packers, ensuring the frame isn’t bent from overpacking. 

Be sure that the window vents are open as this will allow access to the outer frame jambs, then secure the bottom of the window to the sill, using 8x40mm screws 150mm from each corner and then at approximately 600mm intervals thereafter. 

Using 8x100mm bolts, secure window jambs to the surrounding brickwork. Bolts should again be placed 150mm from each corner and then at 600mm intervals. Make sure all screw heads are standing correctly in order to avoid problems when placing the glass. 

Shut and lock sashes and then check the outer edges for squareness before moving on to inserting the glass. 

Installing the glass

Before installing the glass, insert 25x100x15 glazing brides into the recess, using a small amount of silicone to keep the packer secure for the next step. 

Place a 28x100x5 glazing bride onto the bottom glazing bridges. Then place a glass sealed unit into the aperture, ensuring it rests squarely on the glazing packers and push as far back as it will go into the rebate without using too much force. 

Using only hand pressure, place additional 2mm glass packers where required to square the pane then carefully lock and unlock the windows to ensure no binding occurs within the locking system and that there is no movement between the glass and frame. 

Clip the glazing beads back into position, starting at the top, then bottom and then sides then gently place a bead of silicone between the masonry and the window edge, wiping off any excess. 

Finally, place a thin bead of acrylic between the plasterwork and the window and allow one hour to skin over before removing any protective tape and cleaning necessary areas with warm, soapy water. 

At MLI Building products, we supply a wide range of uPVC double glazed windows to the trade and DIY enthusiasts. Speak to a member of our team today to discuss your requirements. 

Price Vs Quality – Which to Choose When Purchasing Supplies

In these economically uncertain times, there’s a perception among home improvement companies that homeowners are being more careful with their money.

This has led to a ‘race to the bottom’, with home improvement providers competing to provide more affordable solutions for their customers.

As a homeowner, you may think that this means a more cost-effective product or service. However, with reduced costs, you often end up with reduced quality as well, which can, in the long run, end up costing you more. 

So if you’re looking at purchasing supplies like double glazing or a new conservatory, should you be looking at investing in the best available in the market? Or would you get the same benefit from a cheaper installer? 

Quality First 

According to a recent survey conducted by CERTASS, quality is the main driver behind home improvement decisions. While consumers are being more careful with their money, they are also being more considerate about where they spend their money. So rather than reducing the cost of their initial investment, homeowners are actually seeking out higher quality products and installations to ensure their investment is a safe one that will last for years and add real value to their home. 

If you’re looking at replacing your double glazing, you should definitely seek out the best provider you can afford. Do this by checking previous work they may have done, obtaining references and ensure they carry all the relevant certificates and accreditations. 

Value for Money 

That’s not to say that you should completely ignore the price of the product. Neither should home improvement companies simply charge whatever they want under the assumption that a higher investment automatically means higher quality. 

But you shouldn’t feel like you have to bankrupt yourself in order to replace windows. A reputable home improvement company, like MLI, will be able to provide you impartial advice on how to get the most out of your budget.

The key is to get the best windows you can afford. That means having an idea of budget in mind before contacting home improvement companies. Then find the ones that offer the highest standards and see what they can do for you on price, without cutting corners. 

When purchasing any home improvement, it’s important to get the right balance of quality and price.Get in touch with us today to see how we can help with your project and providing the right supplies, at the right price, at the right quality.

What’s the Difference Between a Conservatory and an Orangery?

Orangery is a term that’s been around for a few years now but it’s one that still has a bit of mystery surrounding it. And if you’ve ever been in the situation where you’ve complimented a friend’s conservatory, only to be told that it is, in fact, an orangery, you may want to understand the distinction between the two. You may also be considering whether an orangery may be a better option for your own home. 

Both a conservatory and an orangery offer your home an additional living space, while opening out your home to the outdoors, and both are made largely of glass. A conservatory or orangery can be used for multiple purposes, whether you’re looking for somewhere to sit in the Summer months, or somewhere stylish to dine, overlooking the garden. However, there are a couple of important distinctions between the two that will help you identify which is which. 

What is an Orangery? 

The orangeries of old are, really, where it all started. In the 18th Century, explorers and merchants were traveling farther than ever before, bringing back many exotic treasures from around the globe, including plants.

Unfortunately, plants more accustomed to warmer climes were unlikely to flourish in the harsh British climate.

To overcome this, orangeries were built, usually within the grounds of stately homes. These were huge glass structures in which were housed tropical plants, including – you guessed it – orange trees. 

A good orangery was a status symbol, enabling the owner to show off their wealth through their range of exotic plants and, unlike the orangeries of today, they were built away from the main house, within the gardens on the estate. 

Although the purpose of an orangery is very different in today’s society, a contemporary orangery is essentially a supplementary glass structure, similar to a conservatory, but built in the style of the original orangeries. 

What makes it an orangery? 

Though not always the case, an orangery generally has more brick or timberwork than a conservatory.

However both an orangery and conservatory can be built with a brick base or brick or timber pillars between the frames so this is not the clearest identifier. The key difference between the two, however, is the roof.

Where a conservatory has an all glass roof, an orangery is built with a solid roof (usually flat) with a glass lantern in the centre to allow in more light. 

Should I choose a conservatory or an orangery? 

Ultimately, the decision on which to go for comes down to your own personal preference and the building you already have in place, as well as budget. If you want a new living space for your home, an orangery may be the best option for you as, with the solid roof, they have more of an indoors feel and are more like an extension to your home. However, if you want your new room to be more of an ‘outdoor’ living space, a conservatory may be your better option. Both a conservatory or an orangery, however, can be fully customised to suit your needs perfectly.

If you would like to discuss your options further and have a chat about which option is right for your home, get in touch with MLI Building Products today and our team will be happy to answer any questions you might have.

Subscribe to our newsletter

Get our latest offers and updates sent straight to you, so you can save on all of your building supplies.