
Window frame fixings: which type, how many, and how deep
29th July 2026
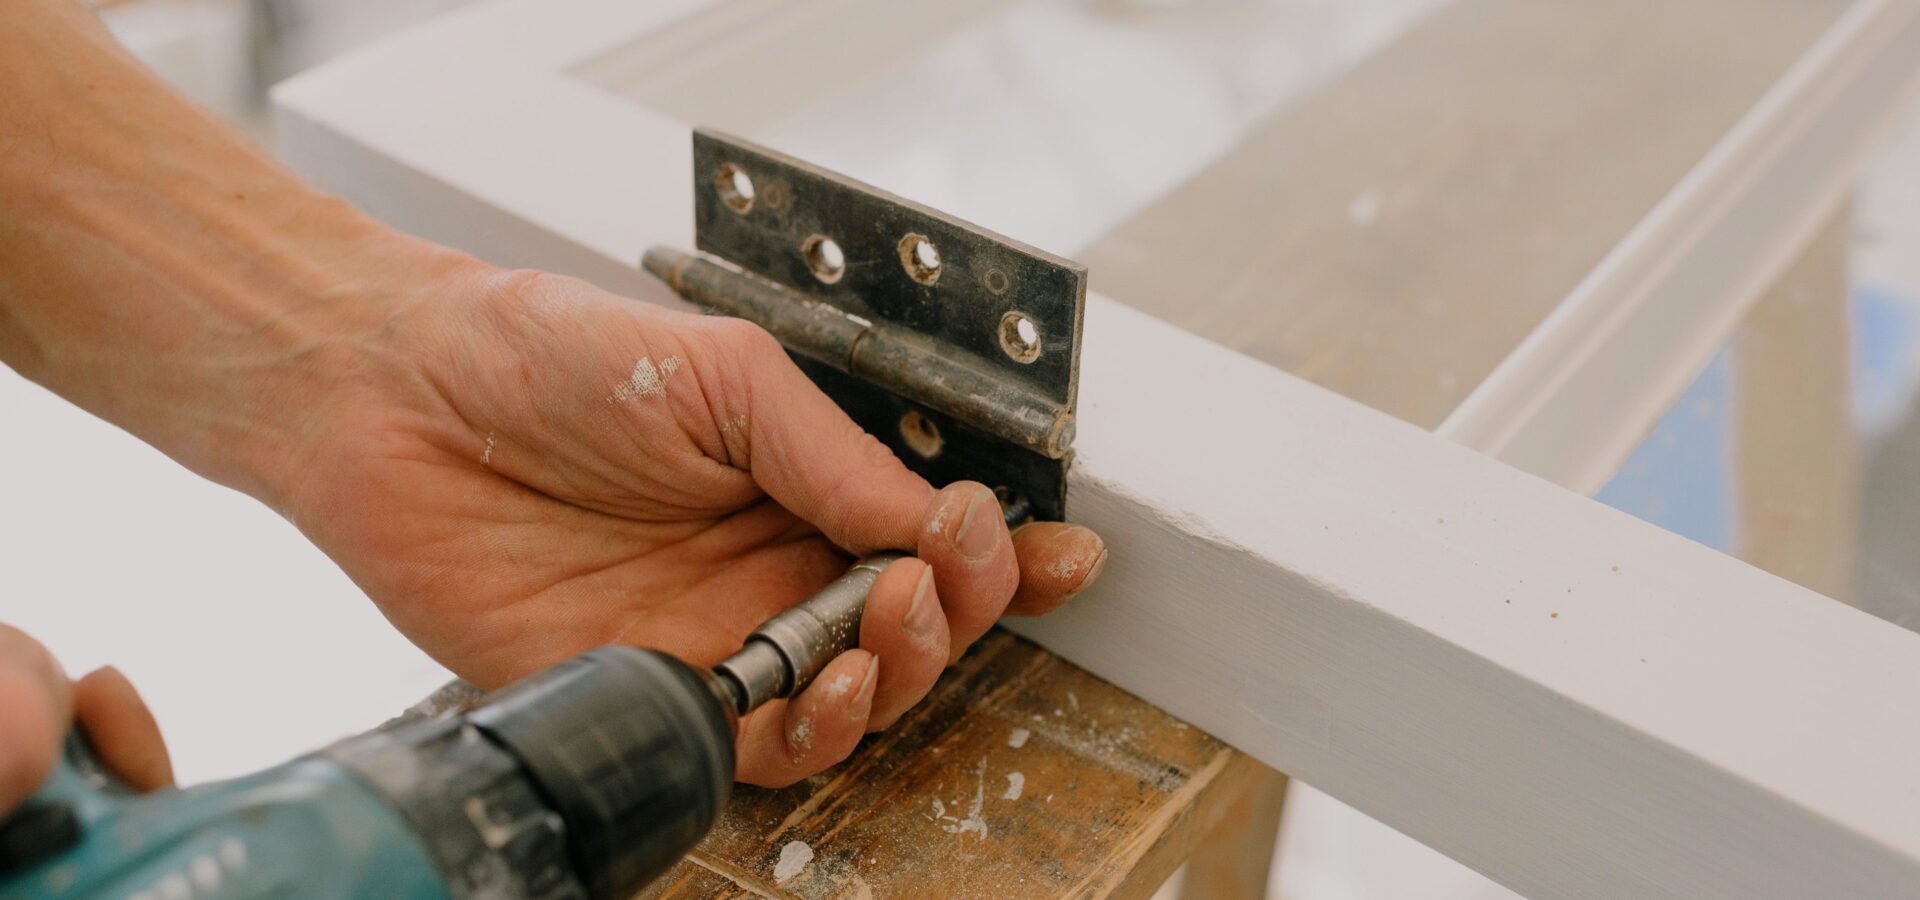
Getting the frame fixings right is a small part of the installation, but it has a big effect on how the window performs once the job is finished.
As a general guide, you need enough embedment into the substrate to hold the frame securely without pulling it out of shape. That means choosing the right fixing for the wall, packing every fixing point properly and getting your spacing right.
For most jobs, you will be choosing between nylon frame fixings and concrete screws. The condition of the brick or block should normally decide which way you go.
Working in Worthing, Lancing, Littlehampton or across West Sussex? Our trade counter stocks fixings and silicones alongside our windows and doors, so you can pick up what you need before heading to site.
What is a window frame fixing actually doing?
The fixing holds the frame securely in the opening and helps it resist the loads placed on it once installed.
What it should not be doing is pulling the frame tightly against the reveal.
That is where problems start. Overtighten a fixing without enough support behind it and you can pull the profile towards the masonry, leaving the jamb or sill bowed. It might not be obvious immediately, but it can eventually lead to problems with operation, seals and alignment.
The aim is simple: set the frame square, pack it properly and use the fixings to hold it in that position.
uPVC frames are also non-load-bearing, so the opening itself needs to be correctly supported before the frame is installed.
Nylon frame fixings or concrete screws?
For most domestic window installations, these are the two options you are most likely to use.
Nylon frame fixings
A nylon frame fixing combines a steel screw with an expanding nylon sleeve.
You drill through the frame and into the substrate, insert the fixing and tighten it until the sleeve grips inside the masonry.
They are a useful all-round option because they can work across brick, block, concrete and a range of other masonry. The expanding sleeve can also cope better with slightly rougher or less predictable holes.
They are particularly useful when the condition of the substrate is uncertain.
Concrete screws
Concrete or masonry screws cut directly into the substrate, so there is no separate plug or sleeve.
Drill the correct pilot hole and the screw cuts its own thread as it is driven in. In good-quality brick or dense concrete, they are quick and straightforward to use.
Where they can struggle is softer or friable material. If the brick, block or mortar breaks away as the thread is cut, the screw has very little left to grip.
As a practical rule, concrete screws suit good, solid masonry, while nylon frame fixings give you a little more flexibility where the substrate is softer or less predictable.
| Nylon frame fixings | Concrete screws | |
|---|---|---|
| How they hold | Nylon sleeve expands inside the hole | Screw cuts directly into the masonry |
| Best suited to | Brick, block and mixed masonry | Sound brick and dense concrete |
| Can struggle with | Very poor or badly damaged substrate | Soft mortar, aircrete and crumbly masonry |
| Adjustment | Can usually be backed off and adjusted | Less forgiving once the thread has been cut |
| Installation | Fixing and sleeve | Single screw |
The type of frame matters too. Countersunk heads are commonly used with uPVC and timber, while aluminium systems may require a different head or fixing arrangement. Always follow the system manufacturer’s installation instructions where specified.
What length frame fixing do you need?
There is no need to guess.
The fixing needs to pass through:
Frame depth + installation gap + required embedment into the substrate
For example, if you have:
- 65mm frame depth
- 10mm gap
- 40mm required embedment
That gives you 115mm, so you would normally move up to a 120mm fixing.
As a working guide, the original specification for this guide uses:
- 40mm minimum embedment into masonry for windows
- 50mm for doors
- 25mm into timber
The important part is making sure the fixing reaches far enough into sound material to achieve a proper hold.
Also check what sits behind the masonry. A longer fixing is not automatically better if it means passing unnecessarily through a single leaf or across a cavity.
Window frame fixing centres and spacing
Fixing positions matter just as much as the type of fixing being used.
BS 8213-4 provides guidance for the surveying and installation of windows and external doorsets, although the requirements supplied by the window or door system manufacturer should always take priority where they differ.
For uPVC and timber frames, the figures used in this guide are:
- Fixings between 150mm and 250mm from the external corners
- No fixing closer than 150mm to the centre line of a mullion or transom
- At least two fixings to each jamb and sill
- Intermediate fixings no more than 600mm apart
Aluminium systems can use tighter fixing positions around corners and mullions, so check the manufacturer’s instructions before drilling.
What about the head of the window?
The head can be more awkward because you may have a steel or concrete lintel directly above the frame.
You need to know what you are drilling into rather than treating every opening in the same way.
Depending on the opening and system being fitted, the mechanical fixing arrangement at the head may differ from the jambs and sill. Expanding foam can be used as part of the installation, but it should not simply replace the required mechanical fixings throughout the frame.
Larger or taller frames will also normally require additional fixing points to prevent excessive movement.
The main thing is not to work from habit alone. Check the size of the frame, what is behind it and the manufacturer’s fixing requirements before you start.
What are you fixing into?
The fixing itself is only half the job. The condition and type of substrate make a huge difference.
Across Worthing and West Sussex, fitters can come across everything from older solid brick and flint properties to cavity construction, modern blockwork, render and concrete.
Victorian and Edwardian brick
Older brickwork can be considerably softer than modern masonry, particularly where lime mortar has been used.
Take care with expanding fixings near the edge of softer bricks and avoid relying on damaged or badly spalled areas.
Where the substrate is particularly poor, moving the fixing to a sound section of masonry or using a different fixing method may be necessary.
Flint and brick
Flint is common across parts of Sussex and can be awkward to drill accurately.
Where a reveal has been formed in brick around a flint elevation, the brickwork will generally give you the more practical fixing point rather than trying to drill directly into the flint.
Cavity brickwork
Good-quality brick in a cavity wall is generally straightforward to work with.
Where the brick is sound and you know exactly what you are fixing into, concrete screws can be a quick option.
Blockwork
Lightweight and aerated blocks need more care.
A concrete screw that grips well in dense brick may simply cut away the softer material without developing enough hold. A suitable frame fixing or fixing specifically designed for the substrate is often the better choice.
Render and pebbledash
The difficulty here is that the finish can hide what is underneath.
Check the substrate before deciding on your fixing and remember to account for the additional depth when working out the fixing length.
Concrete
Where you are fixing into concrete, check the frame system requirements and what type of concrete or lintel you are dealing with before drilling.
Whatever the construction, try to achieve your fixing into sound masonry rather than a weak mortar joint.
Pack behind every fixing
This is one of the most important parts of the job.
There should be suitable packing between the frame and the opening at the fixing points so that tightening the screw does not pull the profile into the gap.
Without that support, the fixing can drag one section of the frame towards the wall and distort it.
Use suitable plastic packers that can be stacked to match the installation gap and position them correctly before tightening the frame.
The basic rule is worth remembering:
Fix it where you’ve packed it. Pack it where you’re fixing it.
A2 or A4 stainless fixings near the coast?
For installations close to the coast, corrosion resistance becomes more important.
A2 stainless is 304 grade and is widely used for general external applications. A4 is 316 grade and offers greater resistance to chloride exposure, making it the stronger choice where salt-laden air is a consideration.
For fitters working around Worthing, Lancing, Littlehampton and other coastal parts of West Sussex, it is worth checking whether A4 fixings are recommended for the job.
The difference in the cost of the fixings is small compared with having to return to a completed installation because corrosion has become visible.
A straightforward fixing sequence
Getting the order right makes it much easier to keep the frame square.
- Position the frame on the sill packers.
- Check the jambs are plumb and the head and sill are level.
- Adjust the packing until the frame is sitting correctly.
- Add suitable packers behind each planned fixing position.
- Drill through the frame and into the substrate.
- Insert the fixings and tighten them enough to hold the frame in position.
- Recheck the frame for level, plumb and square.
- Tighten the fixings progressively rather than fully tightening one side at a time.
- Stop once the frame is secure. Do not keep driving the screw simply because it will turn further.
A cordless driver makes the job quicker, but keep an eye on the torque. The aim is to secure the frame, not pull it towards the wall.
Common window fixing mistakes
Overtightening
Probably the easiest mistake to make. Once the fixing is secure, stop. Driving it harder can distort the profile.
Missing packers
Every fixing needs proper support behind it. Do not use the screw to pull the frame across an unsupported gap.
Fixing into poor masonry
A fixing is only as good as the material holding it. If the brick, block or mortar is crumbling, move the fixing or change the fixing method.
Using too few fixings
Larger frames need enough support along their length. Do not leave big unsupported sections simply to save a couple of fixings.
Using the wrong length
Make sure you have accounted for the frame, installation gap and the amount of fixing that needs to sit inside sound material.
Tightening everything before checking the frame
Tighten progressively and keep checking level, plumb and operation as you go.
It is much easier to correct the frame while the fixings are still adjustable than after everything has been fully tightened.
Before you head to site
It is usually the small bits that slow a job down.
Before you leave the counter, make sure you have:
- The right type and length of frame fixings
- A few spares
- Plastic packers in mixed thicknesses
- The correct masonry bits
- Low-modulus silicone for the perimeter seal
- Any trims and finishing pieces needed for the installation
We stock fixings, silicones, packers and trims alongside our windows and doors at the MLI trade counter.
Pick everything up before the job starts and save yourself the mid-morning run back out.
Frequently asked questions
What size frame fixings do I need for uPVC windows?
Add together the depth of the frame, the installation gap and the required embedment into the substrate.
For example, a 65mm frame with a 10mm gap and 40mm embedment requires at least 115mm, so you would normally choose the next suitable fixing length above that.
How far apart should window frame fixings be?
The figures used in this guide are no more than 600mm between intermediate fixings, with corner fixings positioned between 150mm and 250mm from the external corner on uPVC and timber frames.
Always check the installation instructions supplied with the window system.
Can I foam a window in instead of mechanically fixing it?
Expanding foam can form part of the installation and help with insulation and sealing, but it should not simply be treated as a replacement for the required mechanical fixing of the frame.
Do I need stainless steel fixings near the coast?
For coastal environments, A4 stainless offers greater resistance to salt and chloride exposure than A2. Check the specification required for the particular system and installation.
Should I fix into brick or mortar?
Where possible, fix into sound brick or block rather than relying on a mortar joint. The substrate needs to provide a secure and consistent hold.
Need the fixings as well as the frames?
MLI has supplied window and door products to the trade across Worthing, Lancing, Littlehampton and the wider West Sussex area since 1997.
Alongside our uPVC windows, aluminium windows and doors, you can pick up the fixings, silicones, trims and other bits you need to get the installation finished.
For the full fitting process, take a look at our guide to how to install uPVC windows.
Otherwise, get in touch or speak to the team at the trade counter.


